
6 Super Easy Steps to The Most Adorable Pie Pops Ever
From lollipops to lamb kebabs, foods just taste better on a stick. No really. You find me one example that doesn’t, and then we can talk. The cake pop took off in 2013, and we’re still waiting for the doughnut pop, but we know it’s coming! That said, for the ultimate snack-on-the-go experience, nothing beats a pie pop.
One fantastic bonus is that pie pops can be prepared in advance, frozen and baked individually (or a few at a time), making them great after school snacks or on-the-fly desserts. Any bake sales in your near future? These puppies would be the perfect addition. As cute as they are to look at, you’d think they’d be a pain to prepare. But really, with a few simple steps, you can get a jump on this trendy treat.
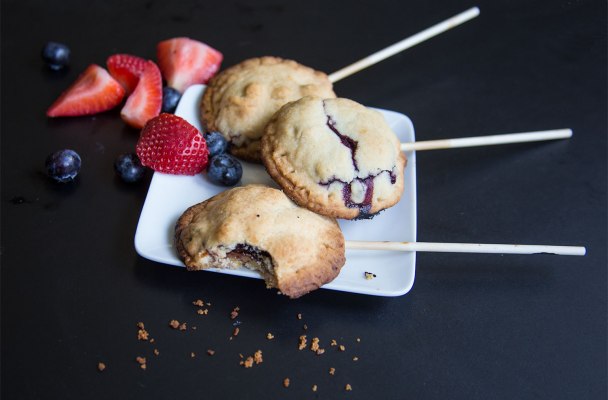
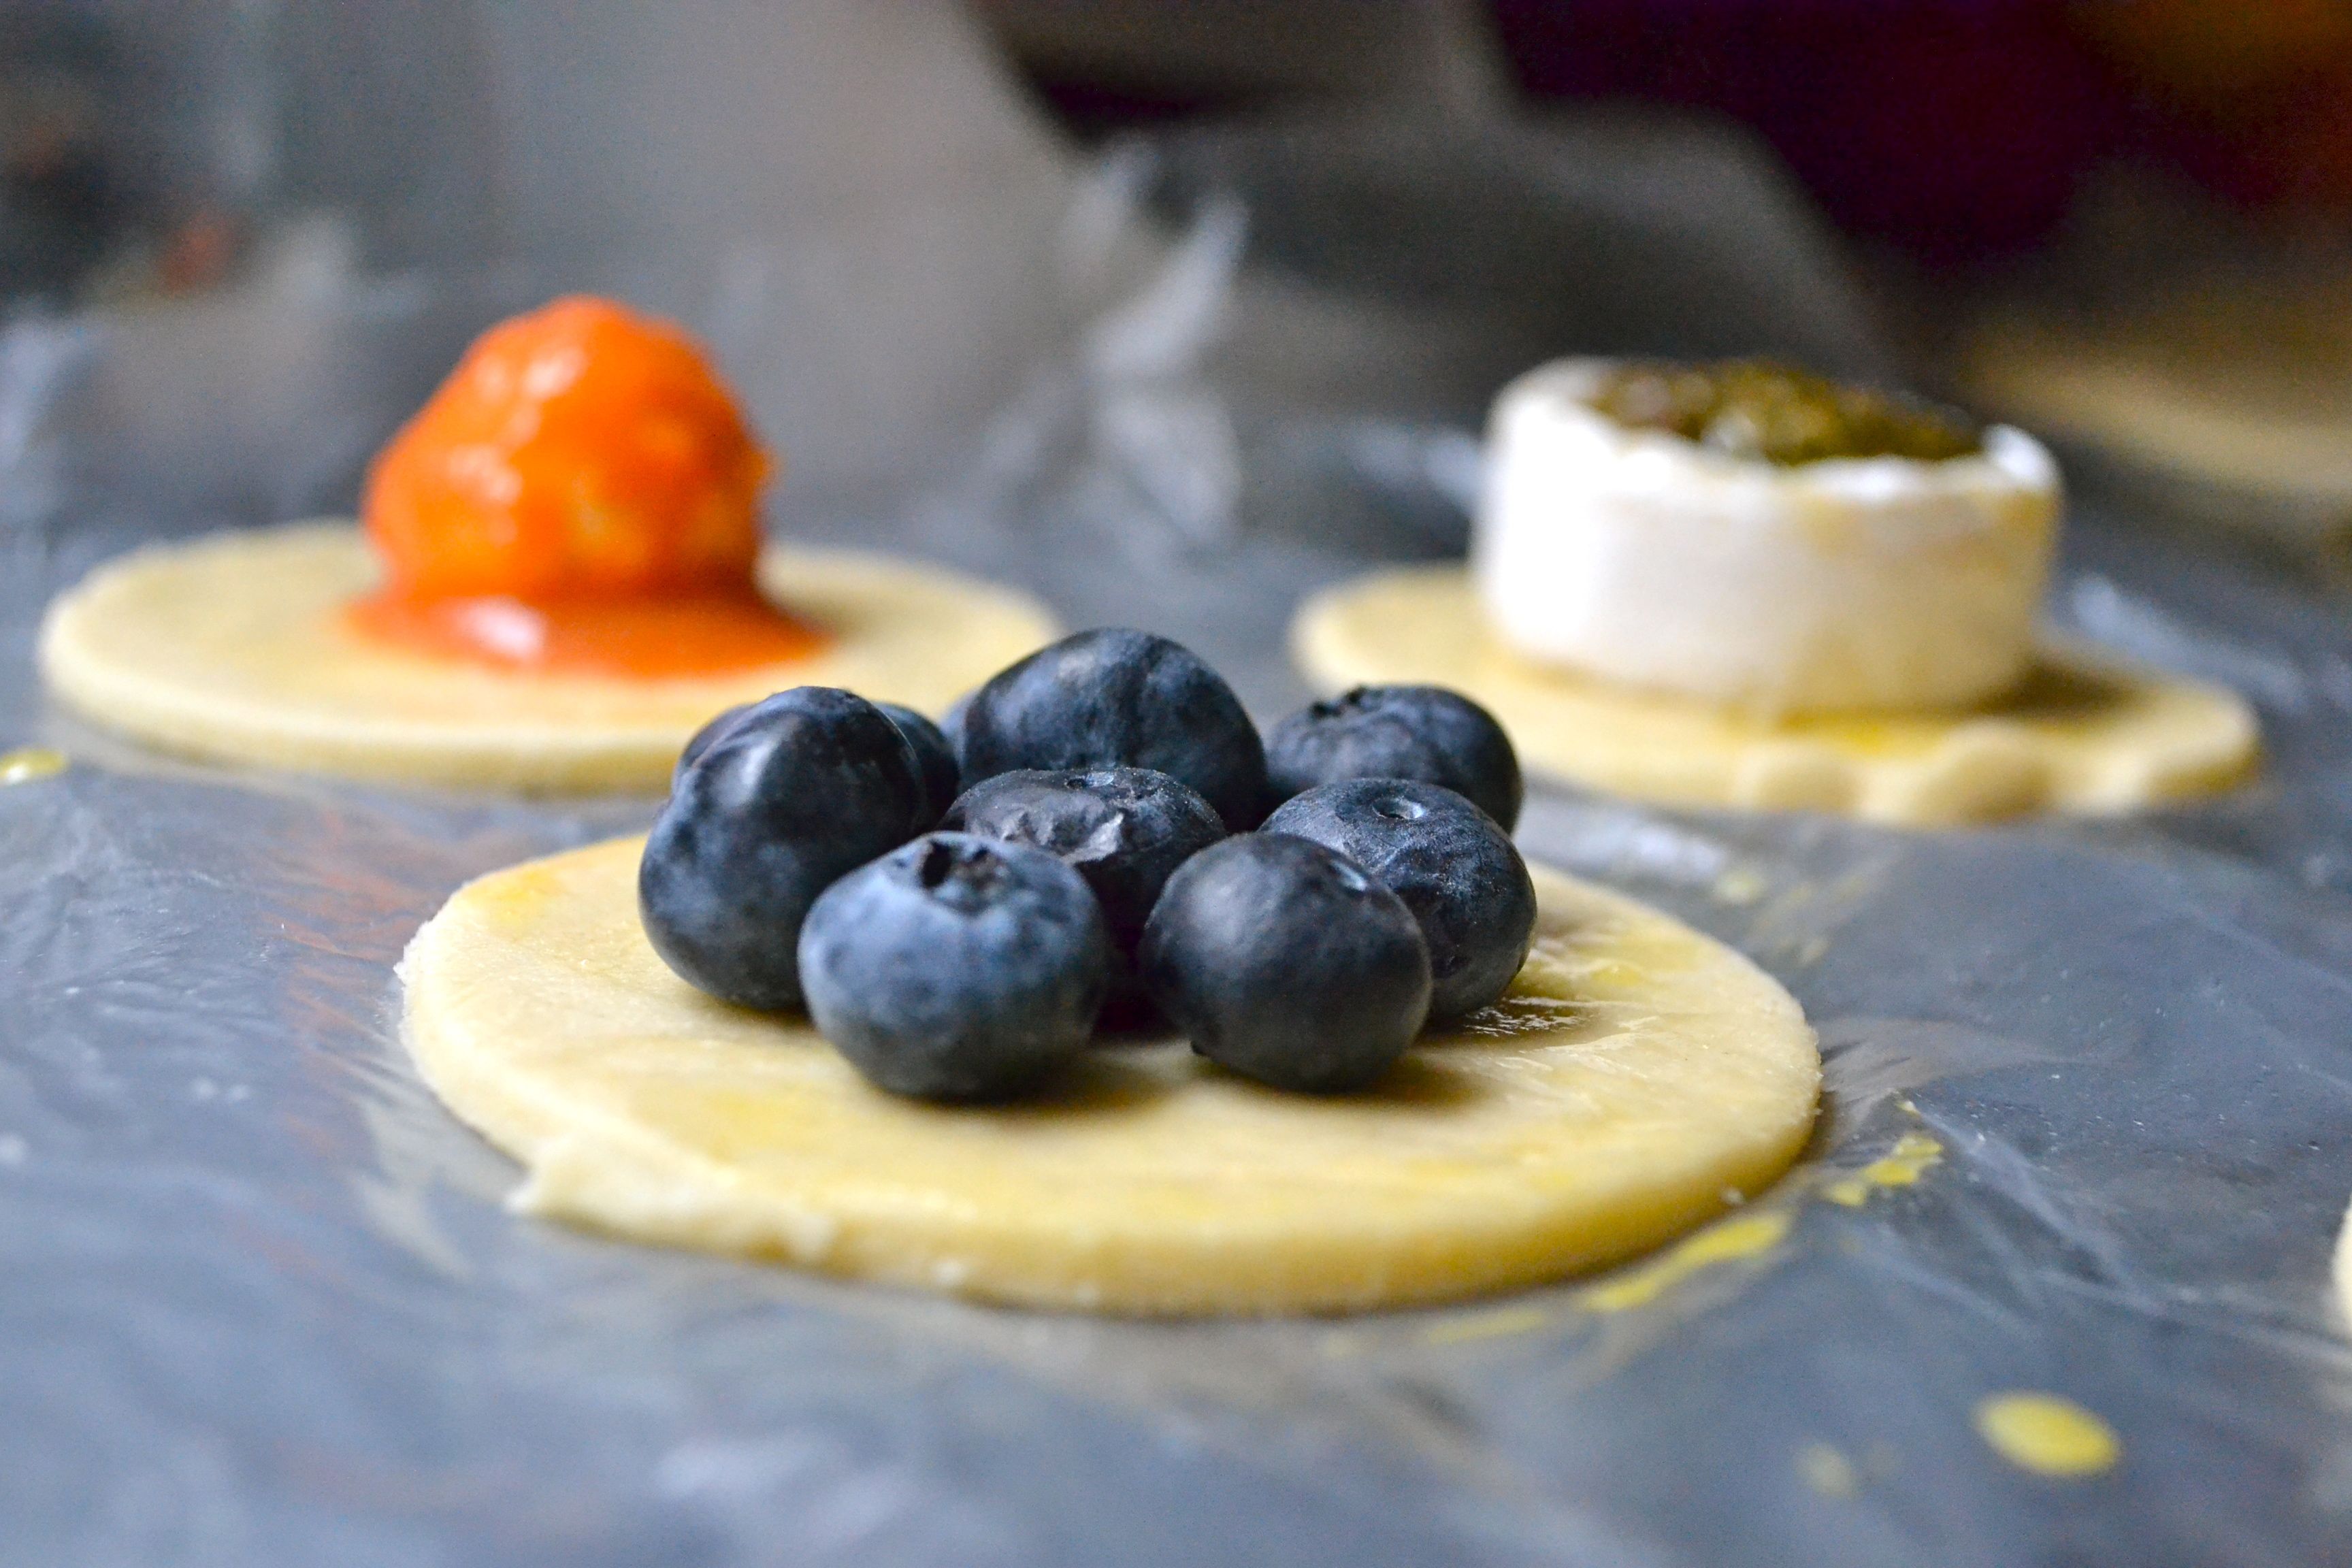
1. Pick your filling: Sweet or savory? Make it simple. I went with a ball of mozzarella cheese dropped in pizza sauce and a tiny brie with a little pesto drizzled on top for my savory combos. For sweet treats, sliced bananas with chocolate chips seemed a natural winner. I’d seen blueberries tossed in cornstarch and sugar, but I tried skipping the added ingredients and found that just blueberries-flying solo-worked perfectly.
2. Prepare dough (or better yet, purchase): Simply combine flour, butter, sugar, salt and water in a food processor and pulse until just blended. Yo! Click here if you want a little extra tutorial. Roll it out so that it’s nice and thin (about 1/8th of an inch thick-but who measures??), but make sure to avoid tears. Gluten-free? No worries. Bob’s Red Mill Pie Crust Mix makes it super easy (and extra quick!).

Excellent with sweet or savory fillings. Pie pops are amazing snacks and the hit of any party.
3. Make pastry discs: Use a 2-½-3 inch cookie cutter to cut into round circles. Actually, you can cut into other shapes, but just make sure the size doesn’t get too large for the stick. Also, the more complex the shape, the more likely you are to have trouble with your dough. But hey, you risk takers out there. I say go for it! I’ve got some Ninja cookie cutters that are ready to kick some, uh, pie?
4. Fill: Line up dough circles and brush each with some egg wash. Place a stick so that it’s top is in the center of the disc and there will be plenty to grasp once you’re through. Place filling in the center, leaving a little bit of room around the edges of the dough so that it will seal properly. Then top with another piece of dough.
5. Crimp closed: Use your fingers, then the back of a fork to delicately crimp shut. Avoid picking up the pop when it is uncooked or you will have some issues. Trust me.
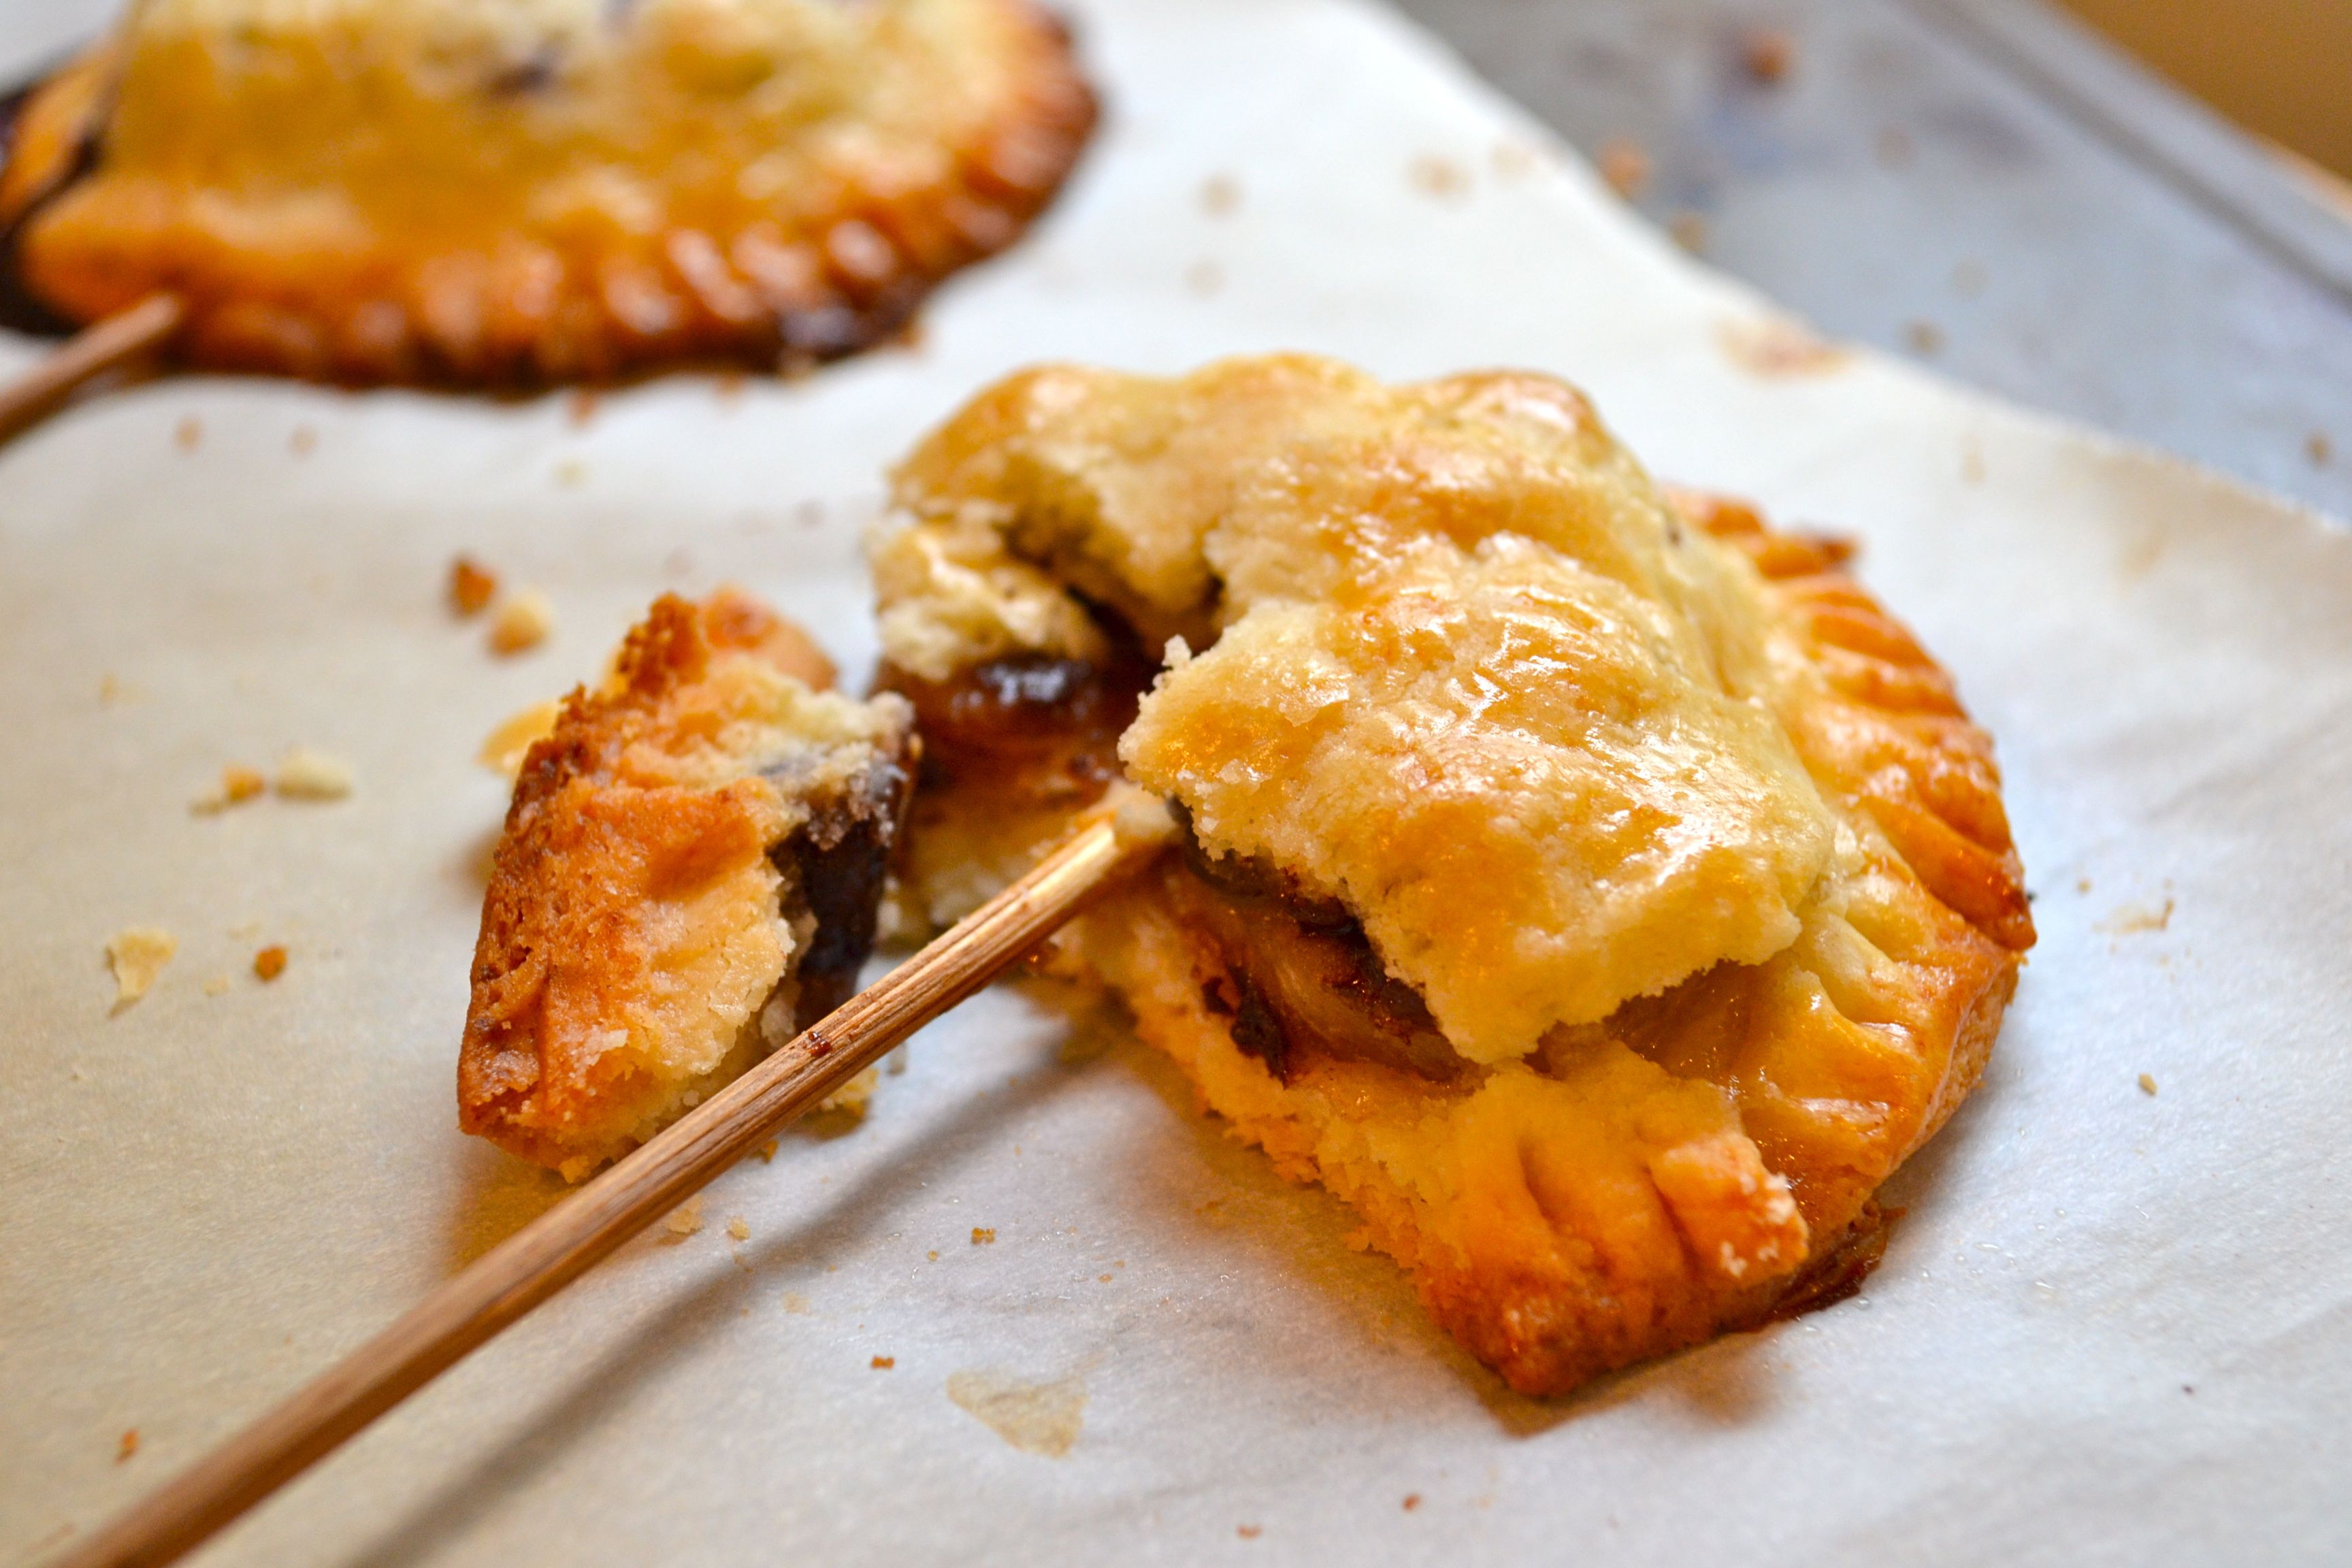
This is what happens when you try to eat a pie pop straight from the oven. Try to have a little more patience than me!
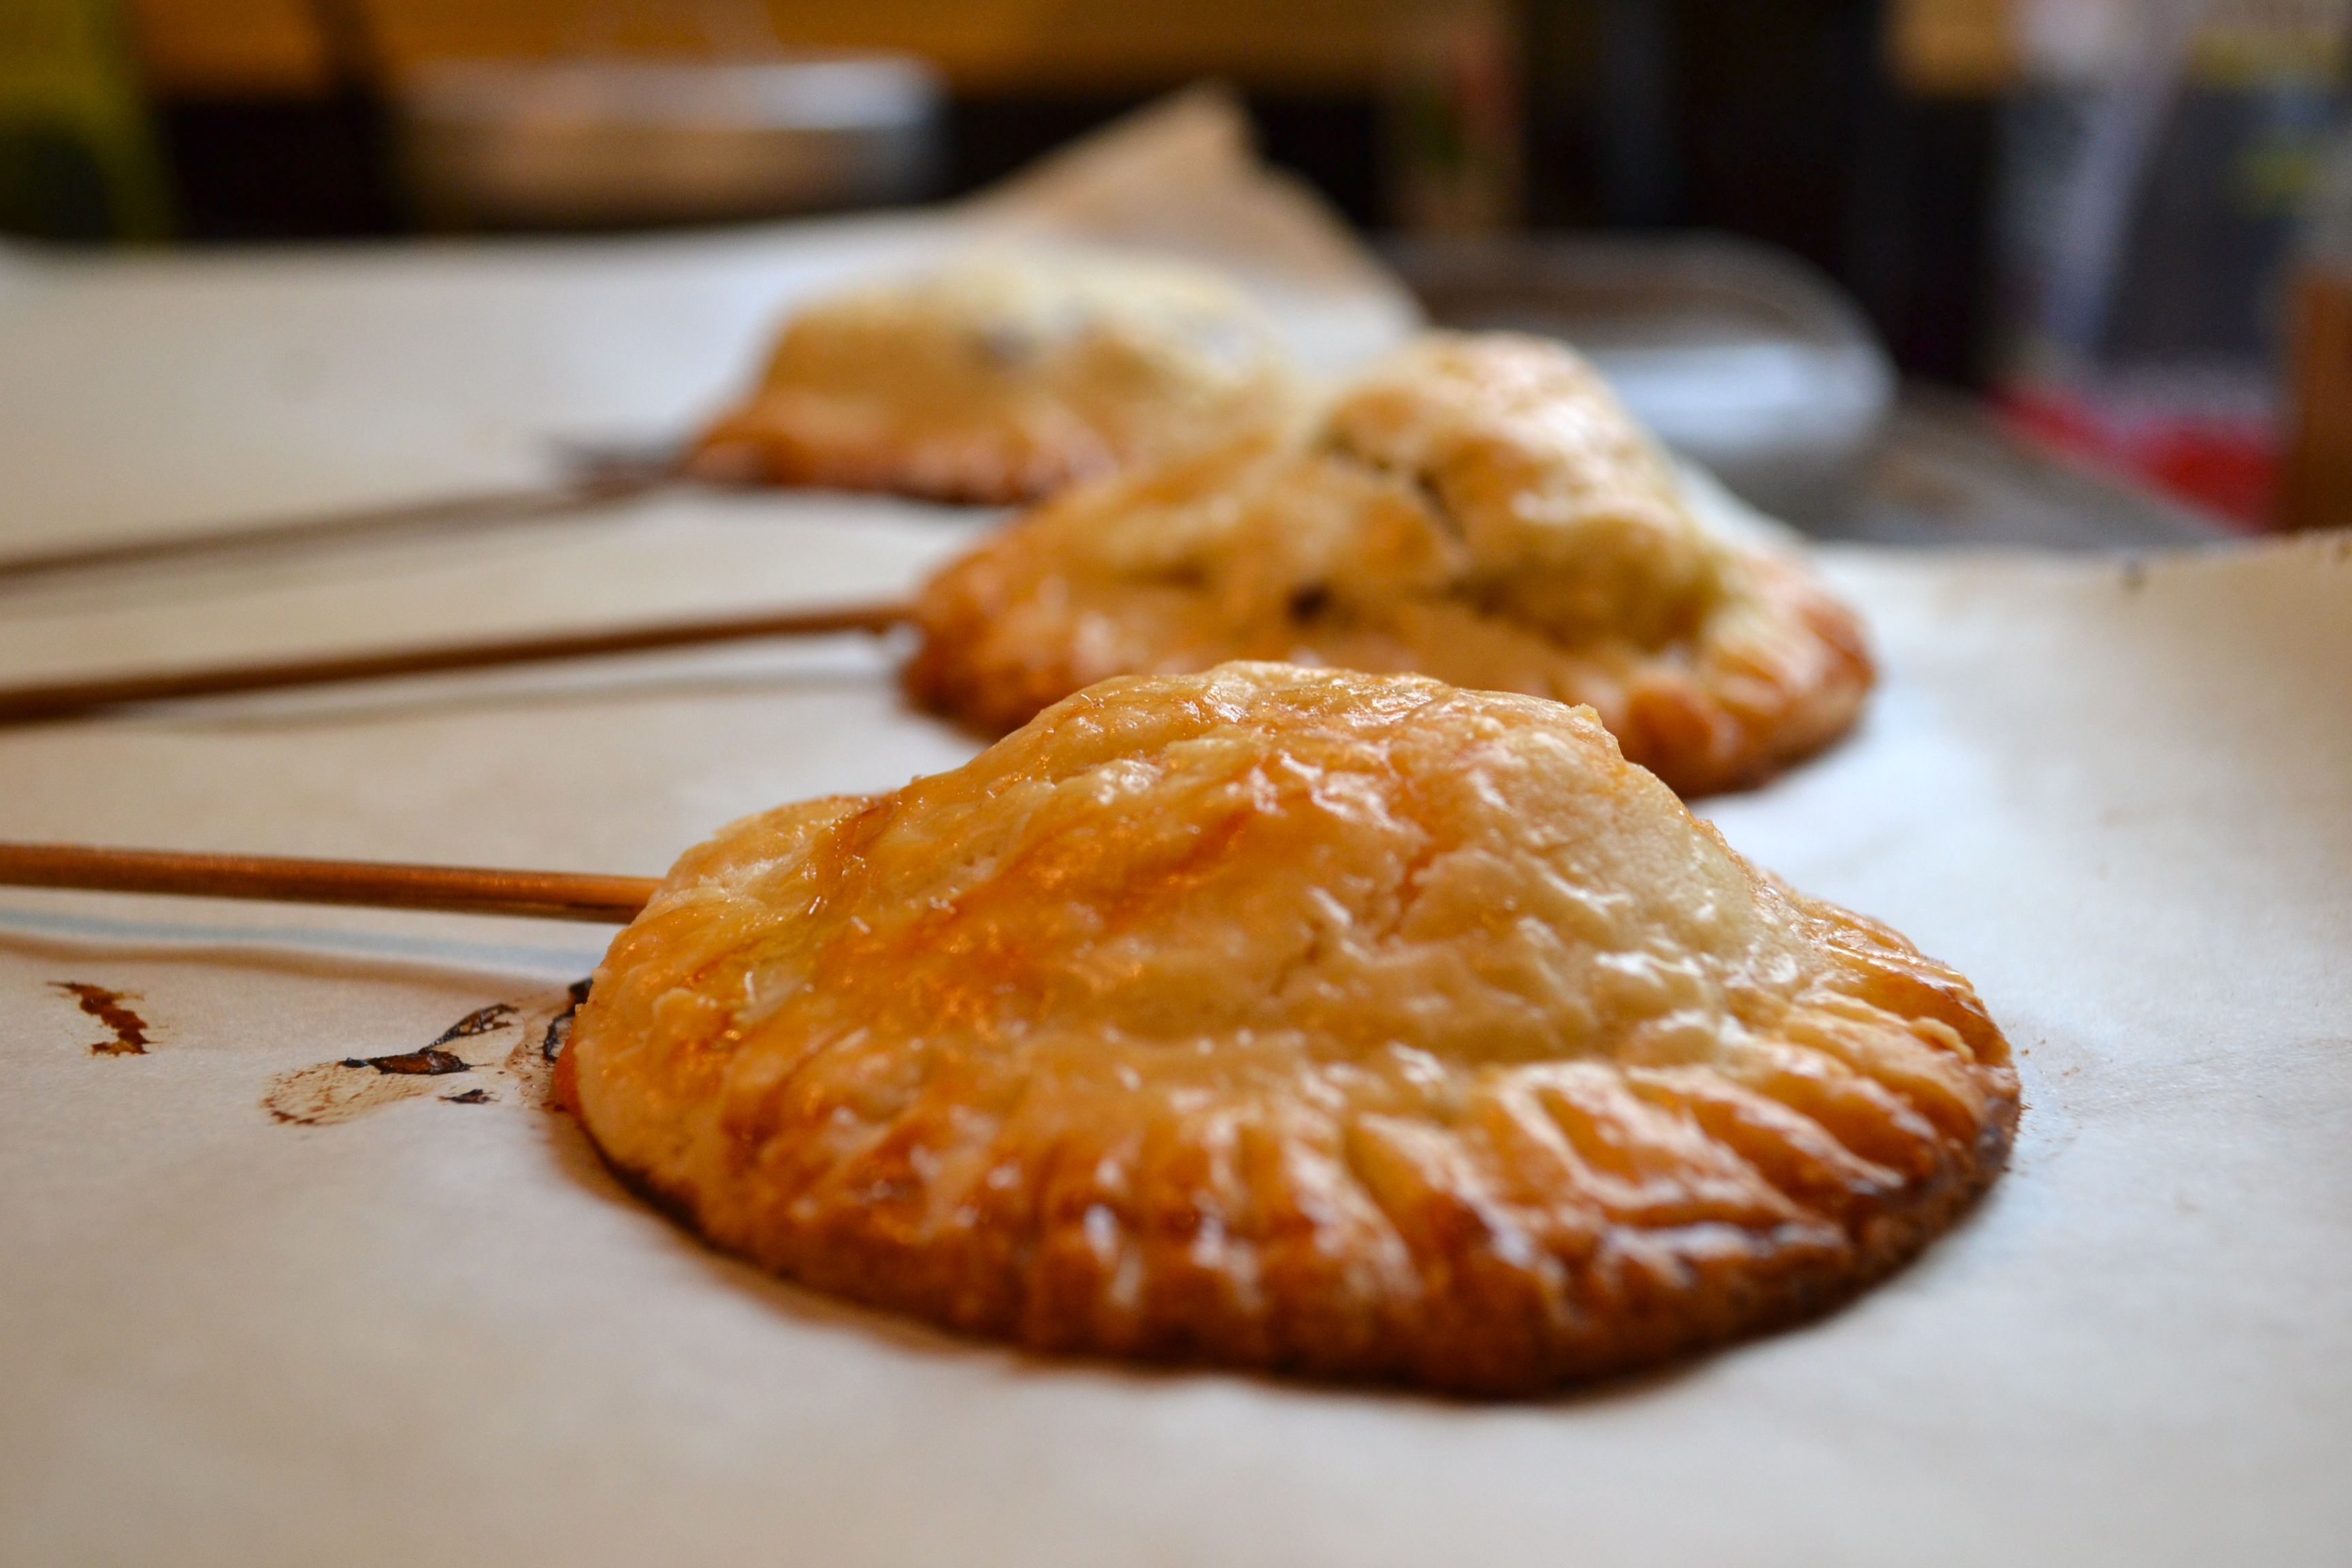
6. Bake: Bake in the oven at about 425℉ until golden brown. Allow to cool, or all of your hard work will end in a pie-less pop. Once they’re cooled, dig in. Remember, you can freeze them individually and break them out for a quick snack or dessert fix just like that.
What would be inside your ultimate pie pop? Send in your creative culinary commentary!


Leave a Reply